SUPPLIES:
Plug-in used
Eye Candy 4000 Gradient Glow For Name (Optional)
Xero porcelain
PhotoEffex Scanlines
AAA textures
Template by
Freebie Friends Scraps And More . by Tracy.F Designz -Template17. can be downloaded here
*Scrapkit Of Choice*
Chasing the Blues Charity Collab - available at Scraps From the Heart
Massive Charity Kit for Honored Scraps. 84 downloads from over 50 designers (over 1 gig of goodies). CU, Full Size Kits, Tagger Kits and Special Packs
I used the WDD Portion of the kit for this tutorial
*Tube*
I used the artwork of Jose Cano You have to be licensed to use this
artwork and it can be purchased Now he has been at PTE but with them closing August 1, 2012 but you can buy his tube at his site here
artwork and it can be purchased Now he has been at PTE but with them closing August 1, 2012 but you can buy his tube at his site here
1.Open up your wdd_chasingtheblues_elements (33) copy and paste as new Layer resize 60%,
Apply Drop Shadow.Vertical & Horizontal 0, Opacity 50, Blur 5.00, Shadow on new layer - unchecked.duplicates
2.Click on your Circle select all float defloat Open up your wdd_chasingtheblues_papers (8) invert delete
Effects- plugin filters- AAA textures with those settings,PhotoEffex Scanlines
with setting,
3.Click on your Circle frame select all float defloat Open up your wdd_chasingtheblues_papers (7) invert delete
Add Gradient Glow to your Frame layer,FAT white first and then MEDIUM in your choice of color.
4.Open up your wdd_chasingtheblues_elements (14) copy and paste as new Layer resize 40%
duplicates Image Mirror,Merage down,duplicates Image Free Rotate 90% right, move down under your frame
Layer go your circle elect all float defloat invert delete,
Apply Drop Shadow.Vertical & Horizontal 0, Opacity 50, Blur 5.00, Shadow on new layer - unchecked.
5.Open up your wdd_chasingtheblues_elements (29) copy and paste as new Layer resize 40%
apply Mura meister copies with these setting below, move under you Circle Frame,
go back to circle select all float defloat selections invert delete on your element layer.
6.Click on your rectangle select all float defloat Open up your wdd_chasingtheblues_papers (8) invert delete
Effects- plugin filters- AAA textures with those settings,PhotoEffex Scanlines
with setting before,
7.Click on your rectangle frame select all float defloat Open up your wdd_chasingtheblues_papers (7) invert delete
Add Gradient Glow to your Frame layer,FAT white first and then MEDIUM in your choice of color.
8.Open up your wdd_chasingtheblues_elements (31) copy and paste as new Layer resize 40%,Duplicates Image Mirror,
merge down go back to your rectangle selections invert delete on your element layer
9.Open up your Tube copy and paste as new layer resize 60%,Apply Xero porcelain set at 50/128/128/0/0/255,Duplicates
On the duplicated tube layer, adjust, blur, Gaussian Blur set to 5 Layers, properties, change blend mode to screen,Opacity 70
Apply DropShadow Vertical & Horizontal:-0, Opacity 50, Blur 5, Shadow on new layer - unchecked .
10.Click on your Circle select all float defloat Open up your wdd_chasingtheblues_papers (8) invert delete
Effects- plugin filters- AAA textures with those settings,PhotoEffex Scanlines
with setting,
11.Click on your Circle frame select all float defloat Open up your wdd_chasingtheblues_papers (7) invert delete
Add Gradient Glow to your Frame layer,FAT white first and then MEDIUM in your choice of color.
12.Open up your wdd_chasingtheblues_elements (31) copy and paste as new Layer resize 30%,Duplicates Image Mirror,
merge down Duplicates Using your Free Rotate with these setting merge down, then Duplicates Hold thing and Image Mirror,
Sent to top under your Square2 Frame
13.Open up your wdd_chasingtheblues_elements (17) copy and paste as new Layer resize 60%
Apply Drop Shadow.Vertical & Horizontal 0, Opacity 50, Blur 5.00, Shadow on new layer - unchecked
14.Open up your wdd_chasingtheblues_elements (110) copy and paste as new Layer resize 60%
Apply Drop Shadow.Vertical & Horizontal 0, Opacity 50, Blur 5.00, Shadow on new layer - unchecked
15.Open up your wdd_chasingtheblues_elements (115) copy and paste as new Layer resize 60%
Apply Drop Shadow.Vertical & Horizontal 0, Opacity 50, Blur 5.00, Shadow on new layer - unchecked
16.Open up your wdd_chasingtheblues_elements (77) copy and paste as new Layer resize 60%
Apply Drop Shadow.Vertical & Horizontal 0, Opacity 50, Blur 5.00, Shadow on new layer - unchecked
17.Open up your wdd_chasingtheblues_elements (81) copy and paste as new Layer resize 60%
Apply Drop Shadow.Vertical & Horizontal 0, Opacity 50, Blur 5.00, Shadow on new layer - unchecked
18.Open up your wdd_chasingtheblues_elements(120) take your Freehand go around one betterfly we going Animation it
18.Open up your wdd_chasingtheblues_elements(120) take your Freehand go around one betterfly we going Animation it
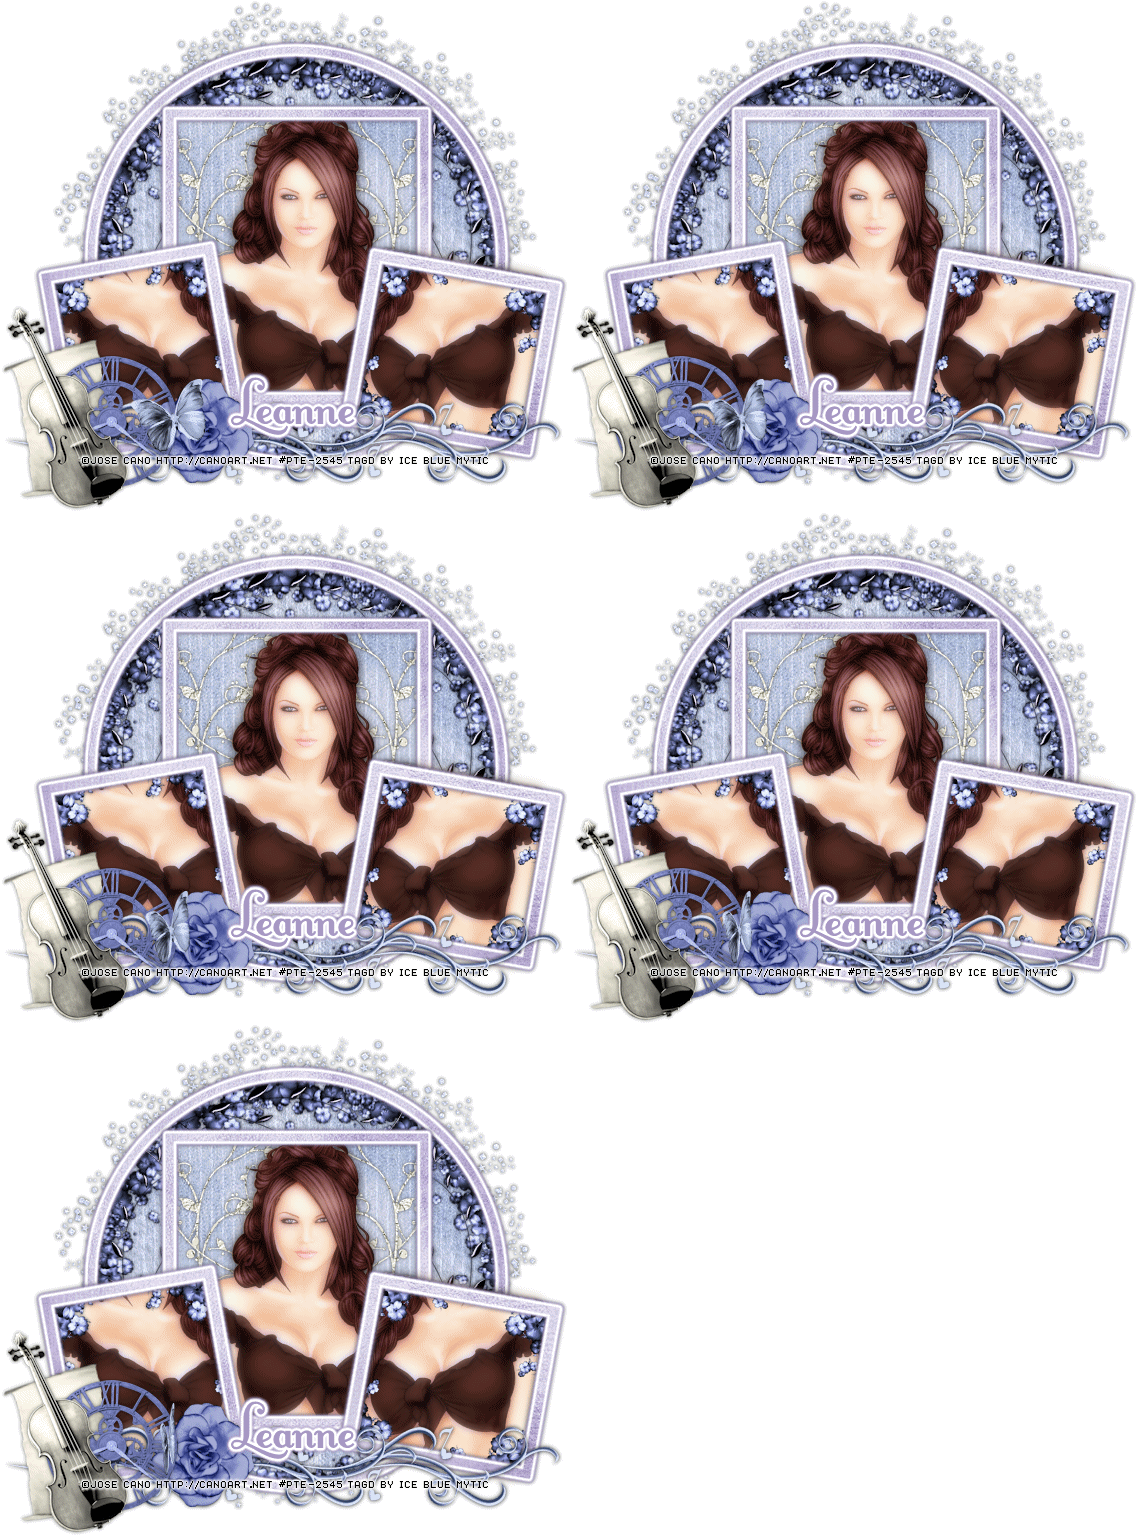
Add the name and copyright info.
♥Animation Shop♥
Open Animation Shop Edit Paste As New Animation
Edit Duplicate Selected.Repeat Duplicate Selected 4 more times.You should have 17 frames
Go Back into PSP.Open wdd_chasingtheblues_elements(120),Adjust Sharpness Sharpen.
Edit Copy.Back into Animation Shop.Edit Paste As New Animation
Effects Insert Image Effect, with these settings Animation Frame checked effects length:4.0secs,Frames per second 4fps Effects Compress
Edit > Select All.Edit Copy.On your main canvas Edit Select All.Edit Paste Into Selected Frame.Place the butterfly at the top of your image, or to your liking.
save and we're done


No comments:
Post a Comment